By Dylan Murphy
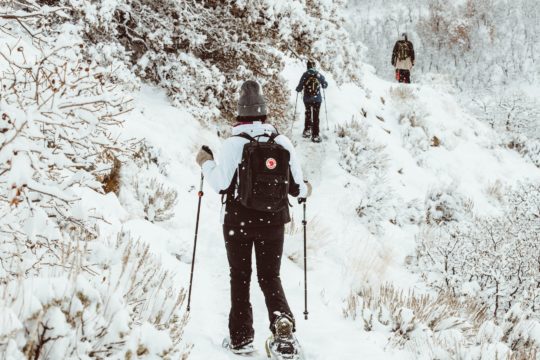
Best Apple Watch Setting for Snowshoeing
Whether you’re engaged in running, cycling, swimming, or other types of sports, you’ll usually want to be able to record various data about your activity. You might want to use the data to track your fitness, or you could simply be curious about how much progress you’re making with what you’re doing.
Snowshoeing is no exception, as more and more people are getting into this activity. And some might treat snowshoeing as a workout option, especially for the winter season. One of the best ways to track workouts and other activities is through an Apple Watch.
These are the best settings for your Apple Watch to track your snowshoeing:
Best Apple Watch Setting for Snowshoeing
- Select the ‘Other’ option in the Workout App of your Apple Watch and choose ‘Snow Sports.’
- Choose the ‘Hiking’ category in the Workout App of your Apple Watch.
- Use third-party apps to measure data for your snowshoeing.
This article will dive deeper into the various methods you can choose from to track your snowshoeing activities.
Let’s do it.
Tracking your Snowshoeing Activity on an Apple Watch
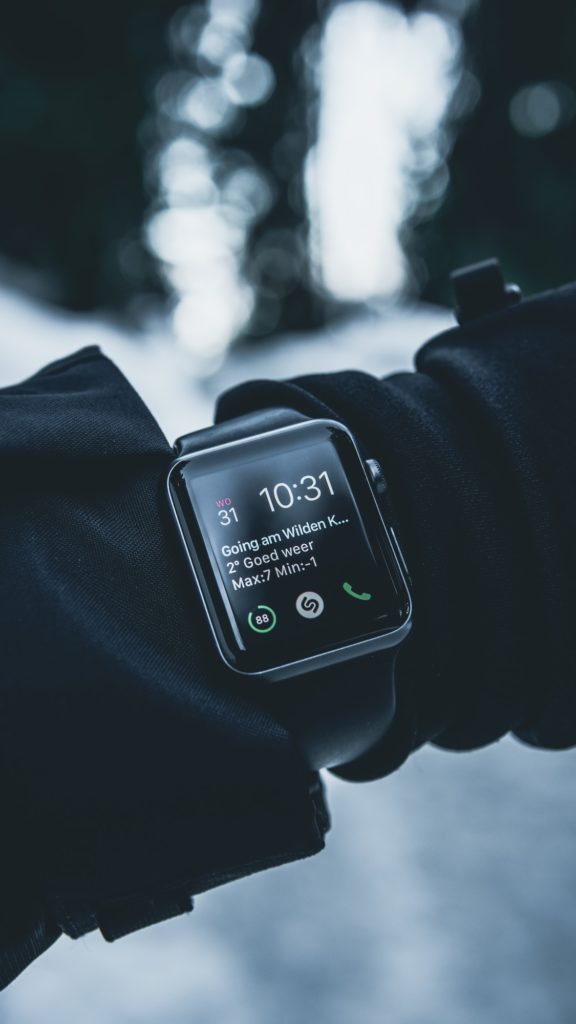
The Apple Watch has apps such as its Activity App and Workout App that can track various data related to your activity or workout. Such data include: how many steps you’ve taken for the day, how many calories you’re burning, heart rate, distance covered, workout duration, elevation gain, and other useful metrics. The Apple Watch offers the tracking of even more specific data for workouts included in its list, such as running, hiking, cycling, swimming, and dancing.
But even with the convenience of the Apple Watch, there are still some activities that it doesn’t cover. One of the activities not included is snowshoeing. If you’re a snowshoer, you don’t have to lose hope yet, though. There are a couple of ways you can use to take advantage of the excellent features of the Apple Watch for your snowshoeing activity.
Select the ‘Other’ category in the Workout App and choose ‘Snow Sports.’
Since the Apple Watch doesn’t have a specific workout for snowshoeing, you can instead choose the ‘Other’ category offered in the Workout App. With ‘Other’, more types of activities can be included. The metrics available with ‘Other’ include workout duration, active calories, total calories, and heart rate.
The following shows how to track your snowshoeing activity using ‘Other’:
Step 1: Keep your personal information updated.
Before you begin, first make sure that the personal information in the Apple Watch app of your iPhone, such as your height and weight, is up to date. To do this, go to the Health app on your phone and tap on Health Details. Edit your details as needed. Providing accurate information lets your Apple Watch measure your metrics more accurately as well.
Step 2: Open the Workout App and select ‘Other.’
After your personal information has been updated, open the Workout app on your Apple Watch. Then scroll down until you see the ‘Other’ category and tap on it for an open goal workout. You can also choose a more specific goal, such as a time or calorie goal, by tapping on the More button in the upper right corner.
Step 3: Begin your workout.
Once you’ve selected your goal, you can then tap on the Start button. There is a three-second timer before the workout actually begins, but you can skip this by tapping the screen.
Step 4: End your workout.
When you’re finished snowshoeing, swipe right on your Apple Watch. You will see some options such as New, Pause, and End. If you’re simply having a short break, you can tap on the Pause button. If you’re done with the activity, tap End instead. Then, tap Name Workout. Scroll down until you see Snow Sports and tap on it. Finally, tap Done.
There are some downsides to using ‘Other’ for snowshoeing. While the metrics mentioned previously are applicable for most workout types, attributes such as distance and pace are not measured. So when you go out snowshoeing, you won’t know how much distance you’ve covered or how fast you’re moving. Also, if you’re ascending or descending slopes, your elevation gain doesn’t get measured and is not credited to filling your Activity Rings in the Activity App.
If you’re not too bothered by these nuances, though, using the ‘Other’ category should be just fine for you.
Choose the ‘Hiking’ category in the Workout App.
A snowshoeing category might not be available in the Apple Watch, but an activity close enough to it is hiking. Hiking is very similar to snowshoeing, with only snow as the major factor that differentiates the two. And unlike with the ‘Other’ category, the ‘Hiking’ option lets you track your pace, distance covered, and your elevation gain as well.
Also, ‘Hiking’ uses the watch’s built-in GPS to track your position, so you can check if you’re still on the trail or not. This feature is available for Apple Watch Series 3 and newer only, though.
If your Apple Watch is Series 2 and below, you’ll have to bring your iPhone with you. Your watch will need to pair with an iPhone for you to use its GPS features.
The following shows how to track your snowshoeing activity using ‘Hiking’:
Step 1: Keep your personal information up to date.
As previously mentioned, it is always important to keep your personal information updated. This is so your Apple Watch can give you accurate readings for your workout metrics.
Step 2: Open the Workout App and select ‘Hiking’.
Open the Workout app on your Apple Watch and scroll down until you see the ‘Hiking’ category. Then tap on it for an open goal workout. Or, you can also choose a more specific goal, such as a time or calorie goal, by tapping on the More button in the upper right corner. A distance goal is also available with ‘Hiking.’
Step 3: Begin your workout.
Once you’ve selected your goal, tap on the Start button. The workout begins after a three-second countdown, but you can skip this by tapping on the screen. Then you can start snowshoeing.
Step 4: End your workout.
When you’re finished snowshoeing, swipe right on your Apple Watch. You will see some options such as New, Pause, and End. If you’re having a short break, you can tap on the Pause button. If you’re done with the activity, tap End instead.
A factor that the ‘Hiking’ option does not consider is the condition of the snow you’re snowshoeing in.
There should be no problem using ‘Hiking’ to measure snowshoeing metrics for packed snow. But for deeper powder, some metrics provided by the watch might not be accurate. For example, you might be exerting more effort in deep snow and have a slower pace as a result. So the Apple Watch might measure a slower pace as well, but not credit the effort exerted when filling your Activity Rings.
So if you’re actively keeping track of your fitness, the above is something to consider when snowshoeing using the ‘Hiking’ category.
Make use of third-party apps.
You can also use third-party apps to track the activity or sport you’re engaged in.
For snow sports, apps you can use include Slopes, snoww, Snocru, and Ski Tracks. With these apps, you can track more metrics such as vertical descent, horizontal distance, average and maximum speeds, total time spent, and calories burned. The data collected from the workouts done on these third-party apps also get credited to the Activity Rings on your Apple Watch.
The above apps require that your Apple Watch be Series 3 and above, as these watches have built-in altimeters for determining elevation. Also, the watch should have the watchOS 4.2 update to enable tracking of said metrics.
The Ski Tracks app, in particular, features 17 different snow workouts, including a Snow Shoe workout. So, if you want your snowshoeing metrics to be as accurate as possible, then the Ski Tracks app might be the best solution for you. This app doesn’t have a free version but is very low-cost and affordable. If you’re a regular snowshoer, the Ski Tracks app might be worth considering.
In general, the following shows how to track your snowshoeing activity using third-party snow sports apps:
Step 1: Install your chosen third-party app.
First off, look for your chosen third-party app in the App Store on your Apple Watch. After finding the app, you can tap on it to check its description. To download the app, tap the price or tap ‘Get’. If the app has a ‘Get’ button, it’s free.
Step 2: Keep your personal information updated.
For the most accurate metrics readings from your Apple Watch, make sure that the personal information on your iPhone’s Health app is up to date.
Step 3: Open the installed third-party app and begin your workout.
Open the third-party snowsports app that you installed. You can then start recording on the app and begin snowshoeing.
Step 4: End your workout.
After you’re done snowshoeing, you can end the recording on the app. To see if your workout got credited to your Activity Rings, open the Activity app on your watch and check if you made any progress.
FAQs
What do I need to know about elevation on Apple Watch?
For the Apple Watch Series 3 and newer, a built-in altimeter tracks your elevation. For Apple Watch Series 2 and below, you will need the iPhone the watch is paired with to track your elevation.
How to make sure your Apple Watch is always on?
First, go to the’ Settings’ app to get your Apple Watch always to be on. Go to ‘Display and Brightness’. Then tap ‘Always On’ to turn the feature on if it isn’t already.
How does the Apple Watch track pace and distance?
For Apple Watch Series 2 and above, there is a built-in GPS that tracks both pace and distance. The GPS also tracks your location throughout the day and then creates a map which you can see in the workout summary on your iPhone.
Conclusion
Even though there is no specific workout activity for snowshoeing available on the Apple Watch, there are a couple of ways you can use to work around this.
These methods have their advantages and disadvantages, which is why you should first consider what elements and data are essential for you.
Then you can more easily decide on which is the better option to use when tracking your snowshoeing activity.